Fixing the column to the floor
- Remove the access panel using a hex key and place it off to one side
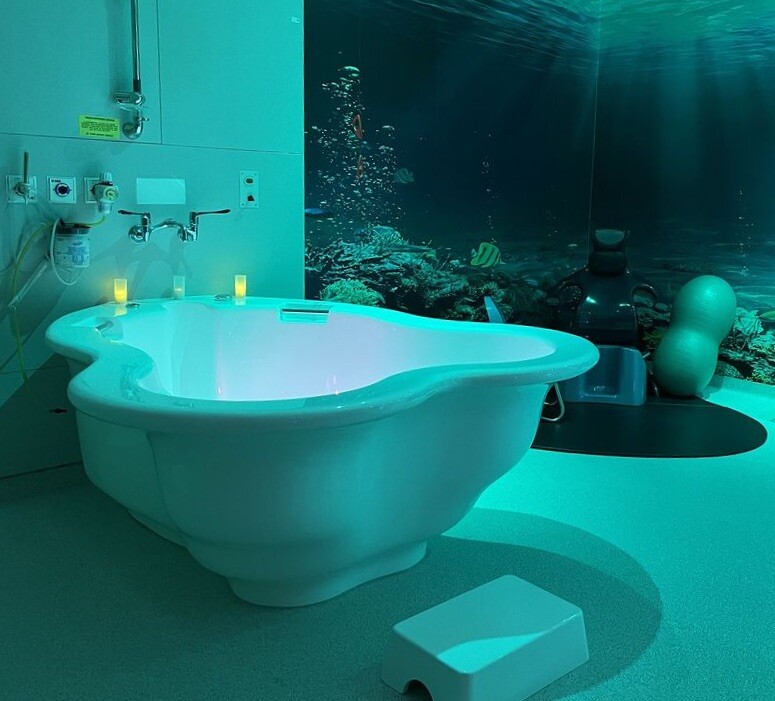
- Locate the water column in the centre of the pool at least 25mm away from the back rim
- Mark the four anchor points on the floor and take the column away
- Drill four holes suitable for the hardware you will be using to anchor the pool to the floor. We recommend expansion bolts or similar fixings.
- If you are using expansion bolts place them in the holes and align the water column accordingly.
- Before tightening the bolts apply a generous amount of silicone to the underside of the flange.
- Tighten the bolts fully.
Fixtures and Fittings
The Water Column is designed to accept a variety of plumbing fixtures and associated fittings such as hand rails.
Installers will find that there is plenty of room inside to accommodate valves and pipework.
The front and sides of the column have been reinforced with 18mm thick plywood.
Ficore is an extremely hard material that is easy to drill provided you place strip of masking tape on the surface and use an HSS drill bit or wood hole saw to make the hole.
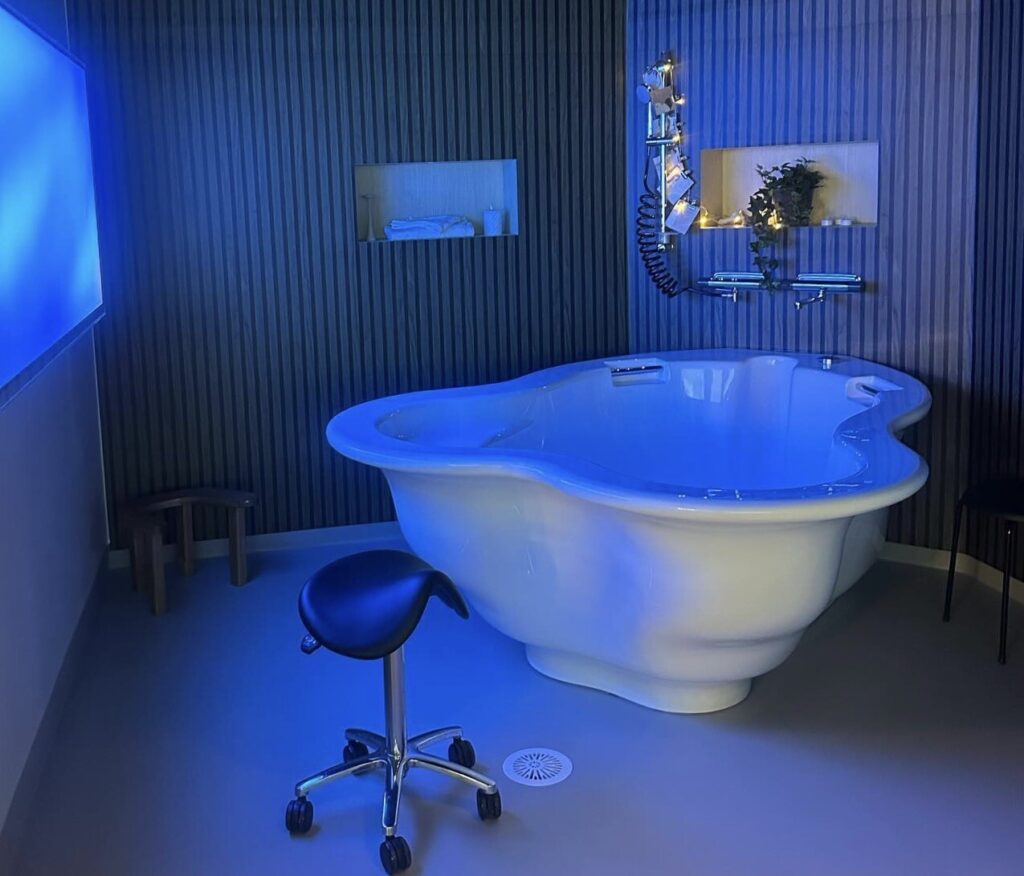
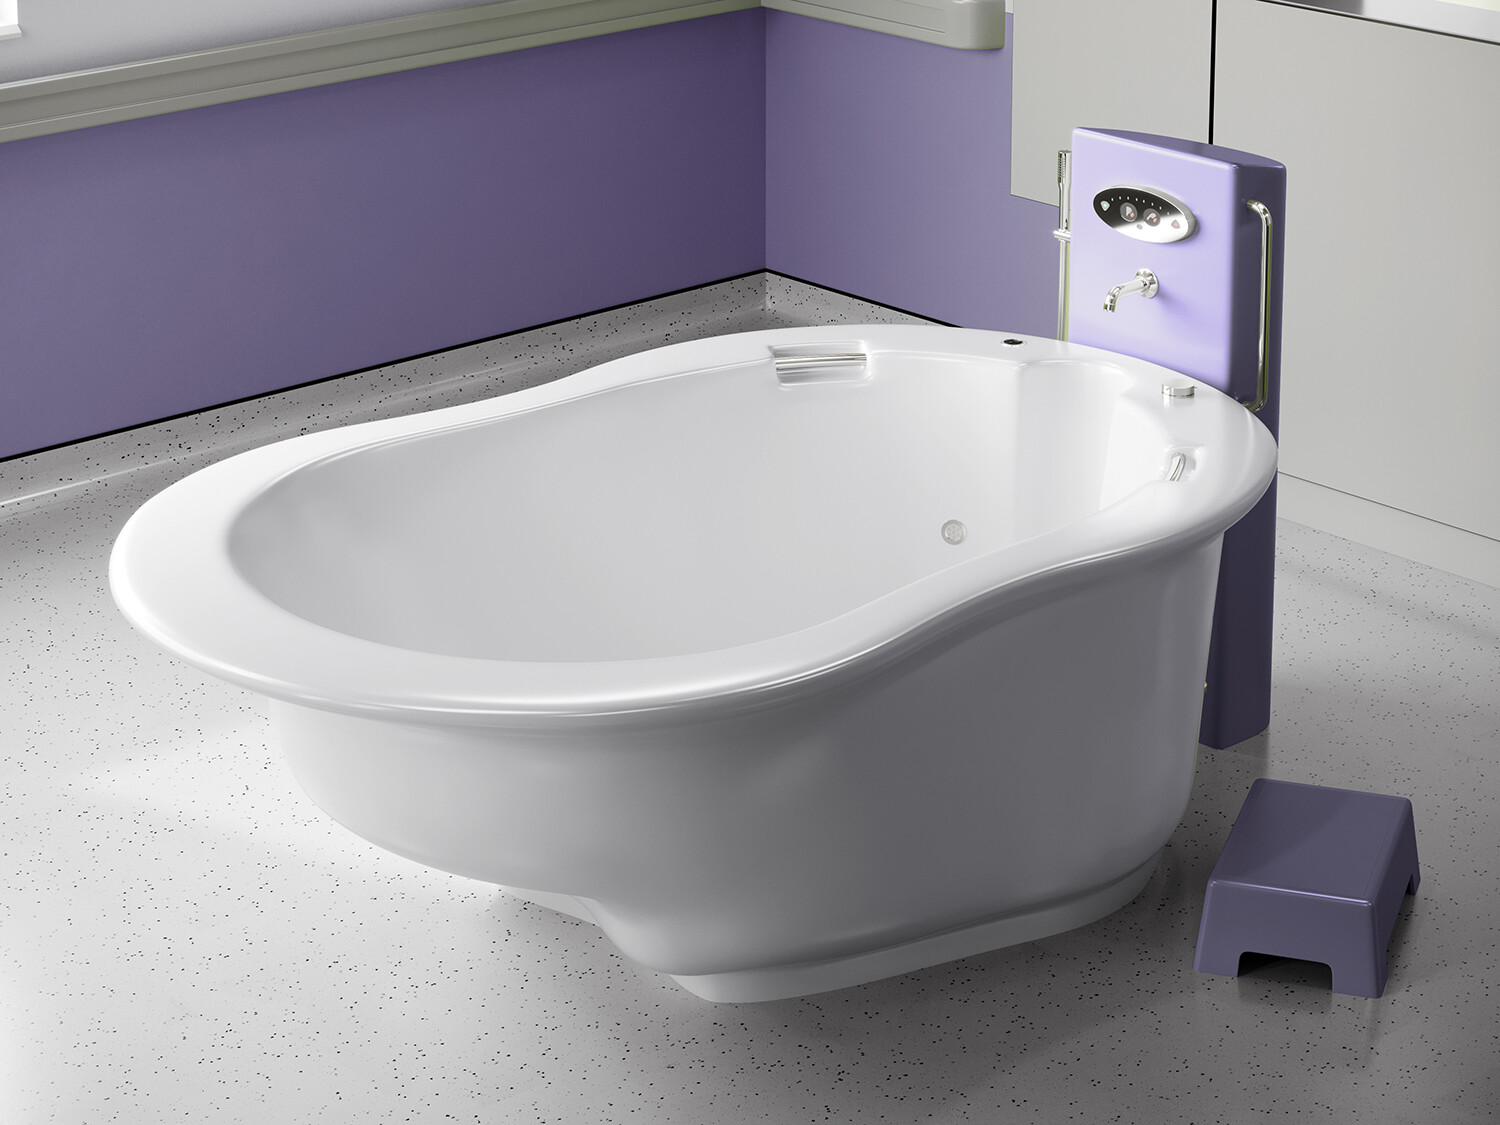
We suggest that you use a 120mm spout and fix it to the column at least 150mm above the rim of the pool.
The tap can be fixed above the spout as shown in the image above.
Handrails and/or handheld showers can be fixed to the sides of the column on the flat sections.
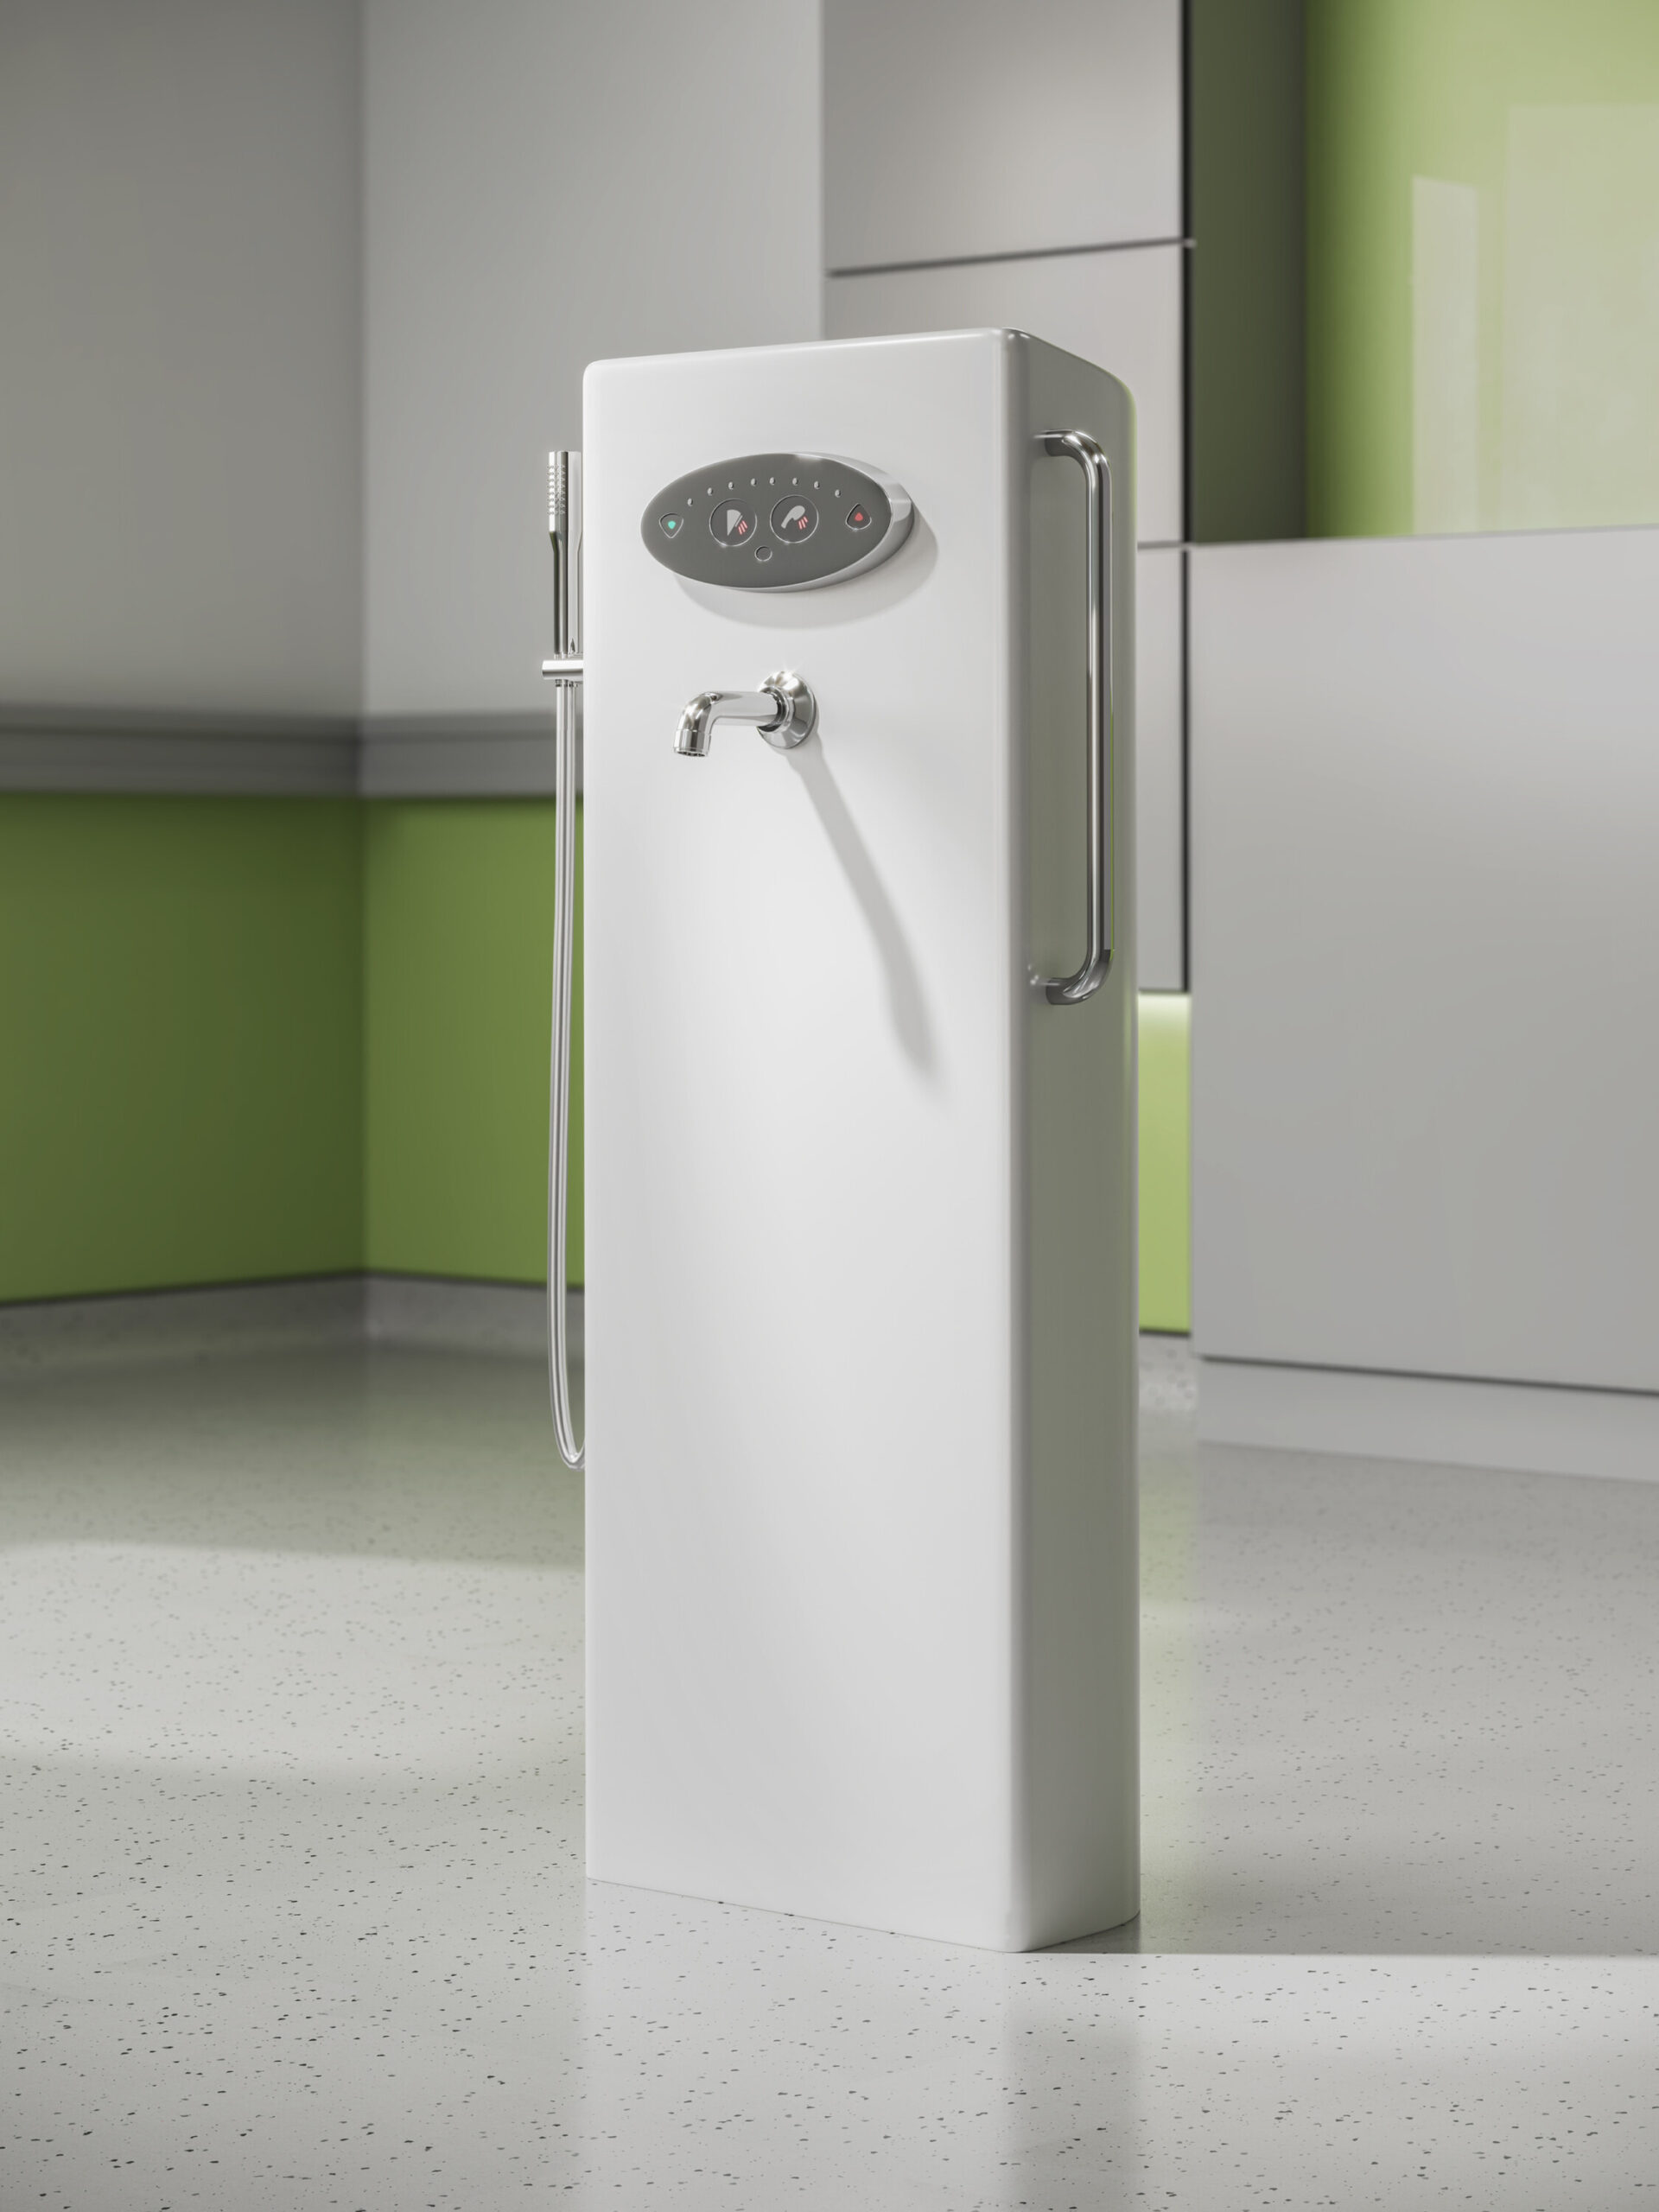


Tap shown is a Rada Sense Bath/Shower T3 DMV